
After concentrating on Greenfoot for some time, we have now worked on and released a significant new version of BlueJ: BlueJ version 4.0.
The most exciting new feature for me is the addition of Stride. (I will say a few more words about that in a moment.) But independent of Stride, there are a number of other bits of new functionality that are worth mentioning. These include the addition of Git support, support for writing and running JavaFX applications, a rewrite of a large part of the user interface in JavaFX, a tabbed editor, a fundamental redesign of error reporting, support for HiDPI displays and numerous smaller improvements.
While we were at it, we have also removed some bits that – for various reasons – do not seem worth supporting anymore. These are support for CVS, JavaME and Applets. A bit more about this below as well.
Let’s go through the main features in a little more detail, and I can tell you what we have done and why we have done it.
Git support
![[Git logo]](https://blogs.kcl.ac.uk/proged/wp-content/blogs.dir/192/files/2017/03/Beginners_guide_setting_up-git-300x300.jpg) People have asked us for support for Git for quite some time. This is not surprising: Git has become the most popular version control system for some years now, and even though Subversion is often good enough for educational situations with small projects, publicly available, free Subversion repositories have disappeared quickly over the last few years. Simultaneously, free Git repositories – such as GitHub – are flourishing. So we have now moved with the times: We have removed support for CVS (which was always a bit terrible) and added Git support. We still support Subversion, as before.
People have asked us for support for Git for quite some time. This is not surprising: Git has become the most popular version control system for some years now, and even though Subversion is often good enough for educational situations with small projects, publicly available, free Subversion repositories have disappeared quickly over the last few years. Simultaneously, free Git repositories – such as GitHub – are flourishing. So we have now moved with the times: We have removed support for CVS (which was always a bit terrible) and added Git support. We still support Subversion, as before.
Git, however, has a somewhat different model of work. We have not fully exploited that yet. As before with Subversion, we support only a subset of its functionality. Version control systems offer help in two distinct areas: One is, well, version control (which allows version rollback, etc), and the other is teamwork (which allows integrating code from multiple developers). While they are often used together, they each also make sense on their own: A single developer might use version control, or a team might use team integration tools without version rollback.
So far, we have always only supported the team work aspects of the source control systems. With Subversion in BlueJ, you can update and commit, but not branch or roll back to prior version. Currently, our Git implementation mirrors this and supports the same functionality.
Git, however, can be used somewhat differently. Since it is a distributed source control systems, it makes much more sense to want to use Git with a local repository, just for backup and version rollback. We are currently investigating whether we modify and extend our Git support to offer something like this as well.
At the moment, BlueJ offers a nice, simple and functional interface for Git – ideal to start learning about source control – just as it did for Subversion. (If you want to try it, some setup and use information is here.)
Support for JavaFX
![]() JavaFX is the new Java GUI toolkit. AWT has been out for many years, Swing has thoroughly replaced it long ago and has been the GUI toolkit for everything Java for the last 15 years or so. Yet now, Swing itself is on the way out.
JavaFX is the new Java GUI toolkit. AWT has been out for many years, Swing has thoroughly replaced it long ago and has been the GUI toolkit for everything Java for the last 15 years or so. Yet now, Swing itself is on the way out.
JavaFX has much better support for modern GUI design, from styling over visual effects to animations. It has taken a few years, but JavaFX has now become good enough that it is ready to replace Swing for all modern new development work. Oracle has said that they will no longer develop Swing. The future is FX.
Running JavaFX in BlueJ has been almost impossible, since its invocation differs from normal method calls. (Well, there were some tricks one could use if one knew enough of the internal workings, but it was really not straightforward.)
Now, if you write a JavaFX main class (by inheriting from JavaFX’s Application class), you will automatically get a ‘Run JavaFX Application’ option in your class menu. That’s it – use it, and all is well.
But it gets even better: If you have used JavaFX, you will know that it makes use of CSS files for styling. And you can now create and edit CSS files (which are plain text files) straight from within BlueJ!
 Interface rewrite
We did not only support JavaFX for BlueJ users, we also started to rewrite BlueJ’s own user interface in JavaFX. There were a number of reasons for it: Firstly, the Stride editor could not have been written without JavaFX. It has a much more modern, dynamic interface than our old Java editor. Secondly, we were receiving an increasing number of bug reports from users with HiDPI displays. Swing does not always cope well with this. And finally, making use of some of FX’s features, such as the ease of creating animations, allowed us to make some aspects of the interface nicer.
All is not well, though. Not the whole interface has been rewritten yet, and some parts are very difficult to rewrite, for technical reasons. Thus, BlueJ currently uses a mix of Swing and JavaFX for its interface – a fact that itself creates some problems. Incorrect display on HiDPI screens, for example, while reduced, is not completely gone.
We are still working on that. JDK 9, when it comes out later this year, will help, and we are still doing what we can with JDK 8 until then.
The new editor, or: Tabs, finally
The BlueJ editor now has tabs! Some users have asked for this for the last 10 years, while others liked the multi-window model. The world has decisively moved to tabs for most applications, though, and this is now the model that most users are familiar and comfortable with.
Having your code in tabs, instead of windows, has, however, one drawback: You cannot show code side-by-side. To retain that option, we have added functionality, available by right-clicking the tab rider, to move any tab to a different window. This way, code still can be displayed side-by-side, for easy comparison.
Improved error reporting
 For many years – in fact, since its creation in 1999 – BlueJ has reported one error at a time: When the Compile button was pressed, BlueJ highlighted the first error and stopped for you to fix it.
This has now changed in three ways: Firstly, all errors are displayed at the same time. Secondly, the errors are marked in the source code with a squiggly red underline (and the error message is displayed near the error when you click on it or the mouse hovers over it), and thirdly, the error checking happens automatically as you type. This way, errors are marked as you make them, for you to come back to at any time of your choosing to fix them.
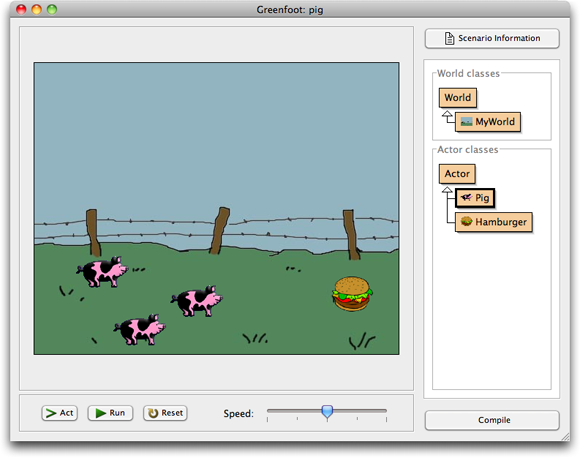
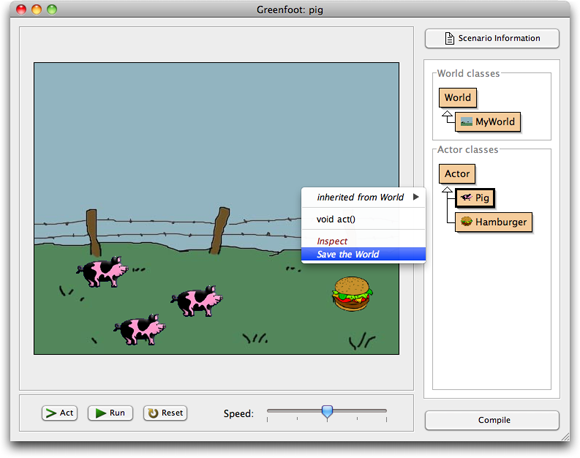
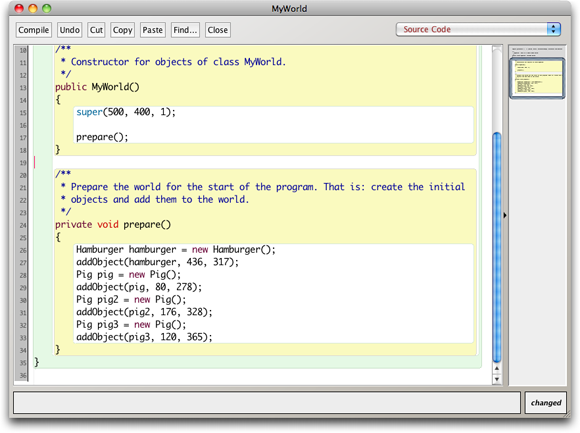
Stride – A new language
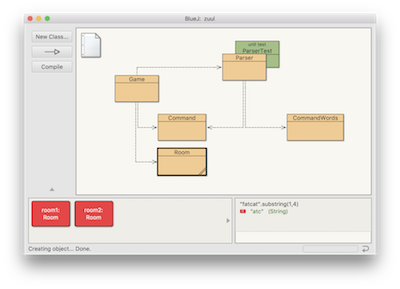
 The most substantial new feature in BlueJ 4 is the addition of Stride as a new supported language. Stride was first developed and published as part of Greenfoot, and has been in use there for about a year. It has met with substantial interest since its publication and we received regular requests to include it in BlueJ.
So here it is.
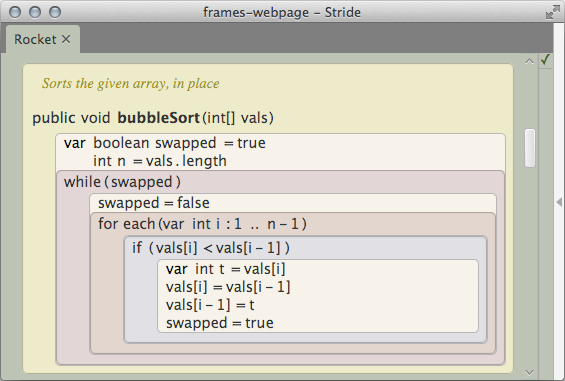
So, what actually is Stride? Stride is a very Java-like language that differs mostly in its frame-based editor. This editor offers new program entry and manipulation interactions that try to get the best out of block-based and text-based editing. Not by displaying the two modes side-by-side, as some other systems do, but at the same time.
I will not talk about it much in this post (but instead introduce it more fully in a future article), but if you are curious, there are some sources where you can have a look: This page briefly describes frame-based editing, and there is a short series of videos demonstrating how to use it. Don’t worry that the videos make use of Greenfoot rather than BlueJ – the language is the same.
The Stride implementation in BlueJ has been significantly improved since publication in Greenfoot. The performance and functionality of the editor is better – progress that will also make it into the next Greenfoot release.
I will write more about Stride in BlueJ later. For now, just note that you can now write in Stride in addition to writing in Java. If you are a teacher, especially at school level, this has the potential to substantially change how you introduce programming.
Spring clean: What’s out
We always try to keep BlueJ small and simple, at least in its appearance, functionality and interface. If we continually add things, this gets very hard. Thus, sometimes things should go out as well.
We have taken the opportunity of this new release to throw out a few things that are getting old and are not much used anymore. These are support for applets, CVS and JavaME. I know that there are still a few people using some of this. Some teachers, for example, use applets as an introductory framework. To those teachers – sorry. But these are dying technologies, and you should move on. JavaFX, for example, provides a much nicer alternative to applets for those who want to start with a graphical framework. CVS – once the most used version control system – has been superseded first by Subversion, and now by Git, and JavaME – well, what is there to say.
Miscellaneous other aspects
A couple of assorted other issues may be worth mentioning:
- The JDK is now bundled with the BlueJ download on Windows and MacOS. This makes downloading and installing easier (since you don’t need two separate, dependent downloads) and ensures that BlueJ always runs with a Java version that it has been tested on, and we know it works. It will no longer be broken by running with an incompatible JDK.
- BlueJ 4 does not currently work on the Raspberry Pi. This is because JavaFX is not available on the Pi at the moment. BlueJ 3.1.7 continues to be available in the Raspberry Pi image.
Try it!
So, if this sounds interesting, download BlueJ now and try it out! If you are a teacher, join us in the Blueroom for more discussion about use and pedagogy.
Let me know in the comments what you think of it, what questions you have, and what aspects you would like me to write more about.